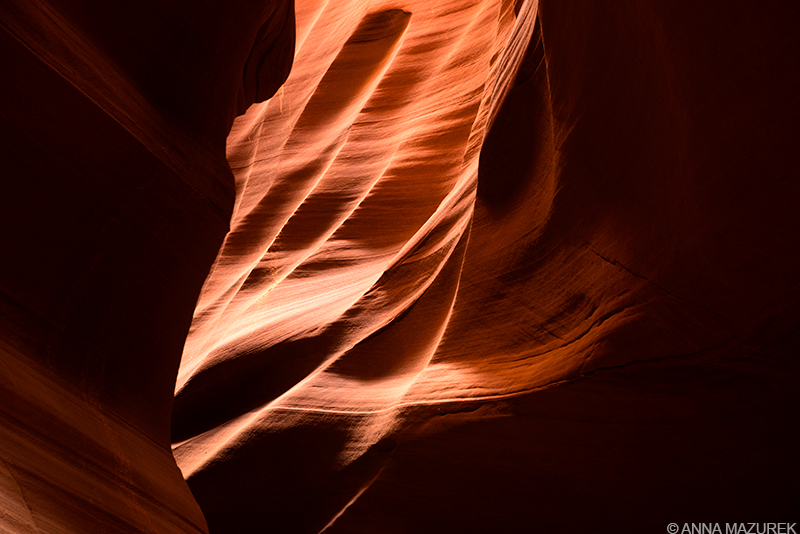
Upper Antelope Canyon in Page, Arizona is a photographer’s dream. (Image was shot at f/8 at 1/4 second at ISO 400.)
Arizona won the natural wonder jackpot.
Upper Antelope Canyon is a perfect example – a hidden orange-walled slot canyon with clouds of dust swirling in the light beams. The best part is that it’s only a two-hour drive from the Grand Canyon!
Beauty always has a dark side though. The canyon was formed by erosion from flash floods that flow off the nearby mountains, which still cause a threat to visitors today. The other downside is the crowds – the canyon is literally packed.
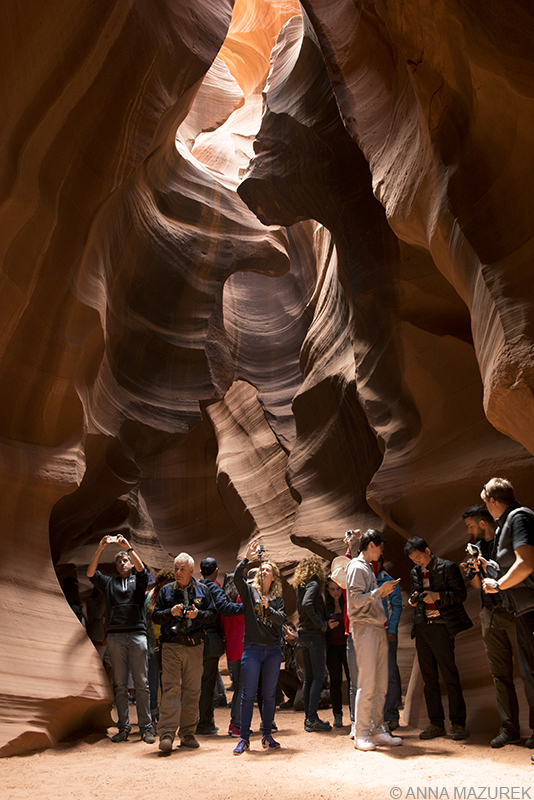
The only way to get photos without the crowds is to book a photo tour. The guides hold back the crowds for short periods of time.
After my last minute detour to Chaco Canyon, the next stop on my Southwest road trip was Page, Arizona for a photo tour of Upper Antelope Canyon, which is located on Navajo land. Overall, I’m really glad I got to visit the canyon despite the crowds – it was absolutely stunning! I only regret not having more time so there will be more trips out here! My biggest tip: Book your tour and photo permit over a month in advance. Check out my detailed guide below for more tips on planning your own trip and getting a photo permit!
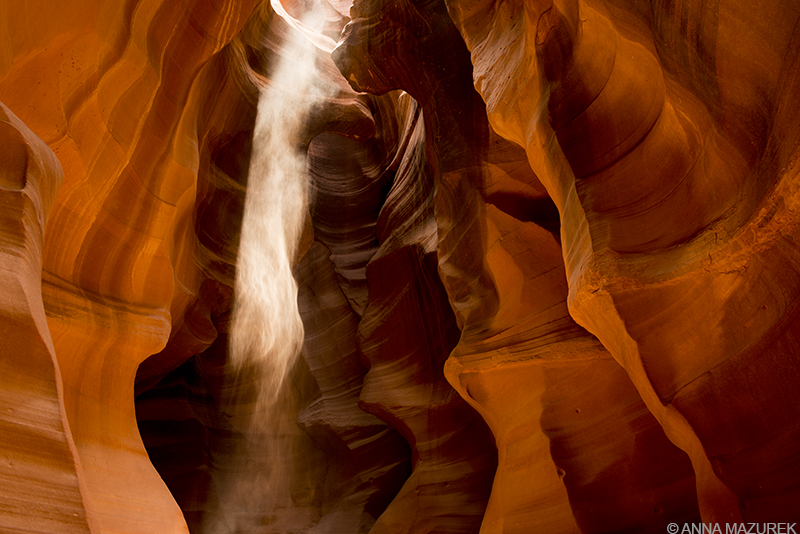
This image of sand floating in the light beams was shot at f/8 at 1/4 of second at ISO 400 on Nikon D800 with a 24-70mm lens.
Everything You Need to Know About Antelope Canyon
When to Visit: Technically, there are two Antelope Canyons. Upper Antelope Canyon is at ground level, and the lesser visited Lower Antelope Canyon involves a series of stairways. Upper Antelope is the most famous due to its signature light beams. There are also three other slot canyons nearby that you can visit: Rattlesnake Canyon, Owl Canyon and Mountain Sheep Canyon.
For Upper Antelope, light beams peak between late March and early October during mid-morning. There are smaller crowds at other times of year.
Photography Tours: The canyon is accessible by tour only. There are five tour companies and prices range from $88 USD for a two-hour photo tour to $48 USD for a regular tour. Only people on the photo tour are allowed to bring tripods into the canyon. The guides do an AMAZING job of keeping people out of your shots. (You get a two or three minutes at a time to take photos while they hold the crowds back.) Tours fill quickly so book in advance. I recommend booking a month out! I used Adventurous Antelope Canyon for my tour.
The one downside to the tour is that the guides spend half the time throwing sand into the light beams. Since I’m not a fan of posed or staged photos, it was really frustrating. Honestly, I would have rather had photos without the sand.
Navajo Nation Photography Permits: Antelope Canyon is located on the Navajo Indian Reservation. A $50 photo permit is required if you are going to use your images for “commercial” use, which basically means if you make money off the photos then you need a permit. I was told that even if I wanted to post the photos on Instagram I needed a permit. My tour company was adamant that I have the permit with me during the tour, but no one checked. Fees are significantly higher if you attempt to get a permit after your visit.
The process to get a photography permit is very third-world. My tour company gave me a website link that didn’t work and a series of phone numbers to call. No answer. Finally, I got a person who gave me another series of numbers and the process repeated. Once I finally found the correct office, I spoke with Shana, who was extremely nice and helpful. Ask for her if you call!
The turnaround time for most Navajo Nation Photography Permits is 30 days. The cost is $50 per site, which can only be paid by check or money order. You must know the date and time of your tour/visit when you apply.
There are six locations that require a photography permit:
- Camp Assayi/Bowl Canyon
- Canyon de Chelly
- Four Corners Monument
- Lake Powell Navajo Tribal Park (Antelope Canyon)
- Little Colorado River Tribal Park
- Monument Valley Navajo Tribal Park
For questions, call the numbers listed on the application form that corresponds to your destination.
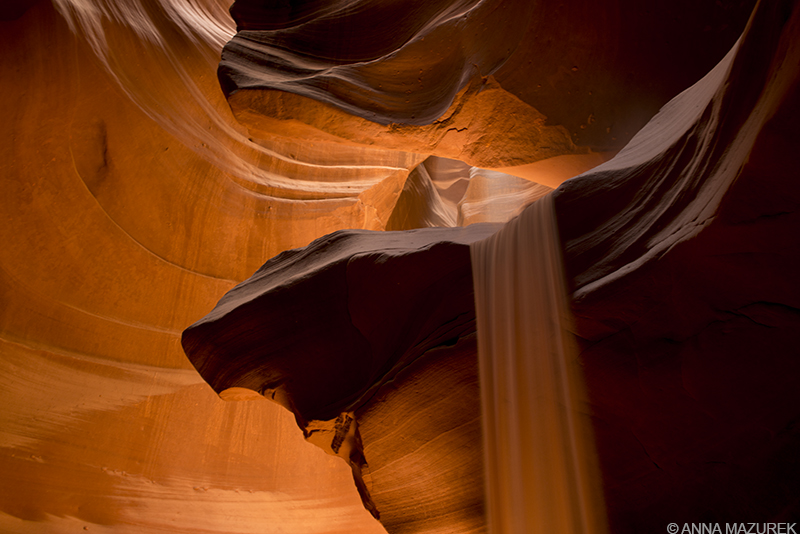
Slower shutter speeds help achieve motion blur with the movement of the sand. This image was shot at .4 of a second at ISO 800.
Tips for Photographing Antelope Canyon
- Take a sturdy tripod. There were way too many people with flimsy tripods. The canyon is tight, and people will be bumping into your tripod so bring one that will support your camera’s weight.
- Use a Wide Angle Lens. You will want to shoot wide in the canyon to capture everything. Do NOT change lenses in the canyon – there’s too much dust! Your aperture should be anywhere from f/8 to f/18.
- Use a remote to avoid motion blur. A remote will help prevent camera movement and keep your images sharp! Recommended shutter speeds range from two to 20 seconds. On average, my shutter speed ranged from 1/4 to 1/25 of a second. You only have a minute or two to shoot once they hold the crowds back so make the most of it!
- Low ISO. To avoid grainy images, consider shooting at ISO 200-400. I rarely went above 400.
- Cloudy White Balance. Cloudy and shade white balance options both add a bit of red to the image, which accentuates the rock’s natural color.
- Take a lens cloth. Due to all the dust in the air, keep an eye on your lens and clean it regularly.
********************************************
COMING UP:
TRAVEL TUESDAY INTERVIEW: Couchsurfing Around the World
In the next Travel Tuesday Interview, I talk with longtime Couchsurfer Nishant Prasad about his experience saving money on accommodation during his travels by sleeping on couches. (He even met his fiancé through Couchsurfing!)
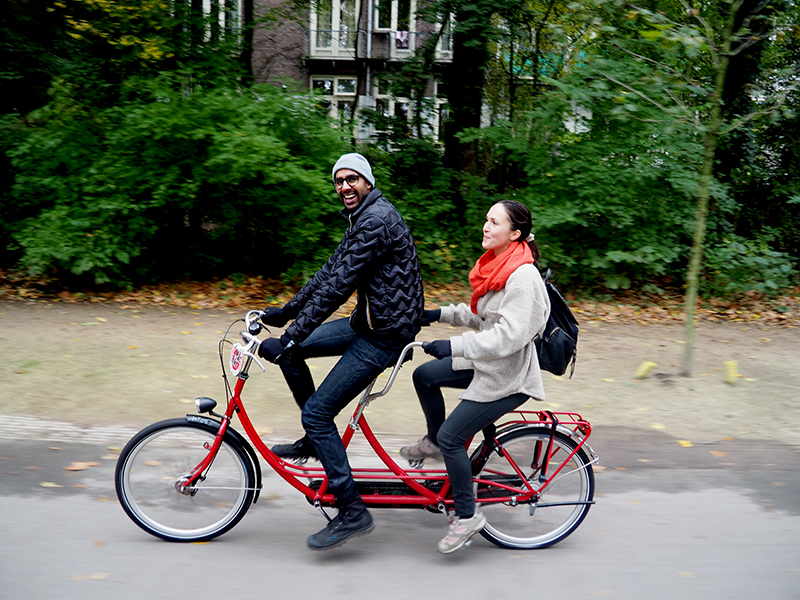
Nishant Prasand and his finance Isabelle biking around Amsterdam.